Data Segmentation
Data segmentation lets you zero in on the data you care about most. With DataNoodle, you can generate your own custom data segments using vertical tags. Create as many tags as you like and assign them to whichever tracked pages you want. Then, you can filter your data set by tags to apply your custom segments.
For instance, you can apply segments to monitor prices and availability for your core product range, track your competitors for important updates like new product launches and seasonal offers, and keep a close eye on your most profitable pages for unexpected errors and downtime.
Here’s how to use vertical tags to unleash the power of data segments with DataNoodle.
Creating vertical tags
When first adding websites to your Ecosystem, you’re given the option of selecting vertical tags from a list of suggestions. These suggestions vary depending on your industry. For example, “Video Games” or “Consoles & Hardware” if you’re in the video game business, or “Rooms” or “Dining” if you have a hotel website.
If none of the suggested tags look quite right for you, you can skip this step and create your own tags after completing your Ecosystem setup.
Adding your own vertical tags is easy:
- Log in to your DataNoodle account.
- Go to the Vertical tags tab and click the + New Tag button.
- Name your vertical tag, give it a description, and hit the Save button.
- Repeat steps 2 and 3 to add more tags.
And you’re all done. Told you it was easy!
Now let’s move on to assigning your tags to pages, so you can segment your data any which way you like.
Assigning vertical tags to pages
finding pages
Head over to the Website tracking tab inside your DataNoodle account and scroll down to the Website Data table. This table contains a data row for every single web page being tracked inside your Ecosystem.
Since you wouldn’t want to put all these pages into one data segment, you’ll need to narrow them down to find some suitable candidates. You can limit the rows displayed in the table by searching for keywords in either the Title or URL filters.

Title
Title here refers to the meta title of a web page. In Google’s search results, a web page title is shown as the blue link that you click to visit that page. Titles often contain keywords, to increase the chance of appearing in Google’s results for those keyword searches.
You can also see the title of a web page by hovering your mouse over its browser tab. For example, the title for this page you’re on now is “DataNoodle: Data Segmentation – Do Data Right”.
Let’s say you’ve created the vertical tag “Beds” and want to assign it to all product pages in this category. Open the Title dropdown filter and search for “bed”. The table will refresh to show only pages with titles that contain that text.
You can expand or narrow your results using the following search modes:
- Is – Returns an exact match for the entered page title text.
- Contains – Returns pages with the entered text in any position within the title.
- Starts With – Returns pages with titles that start with the entered text.
- Ends With – Returns pages with titles that end with the entered text.
URL
URL is another term for a web page address. For example, the URL of this page is https://datanoodle.com/features/data-segmentation/.
You can search using URL dropdown filter with these modes:
- Is – Returns the result for an exact URL.
- Contains – Returns URLs that partially match the entered text. Can be useful for finding product pages within a certain category.
- Starts With – Returns URLs that start with the entered text. Note that you must enter the entire beginning of the URL to get results, including the http:// or https:// or www prefixes.
- Ends With – Returns URLs that end with the entered text.
Assigning tags
Once you’ve found the pages you’re looking for, it’s time to assign your vertical tags.
First, select all the pages you want to assign within your Website Data table.
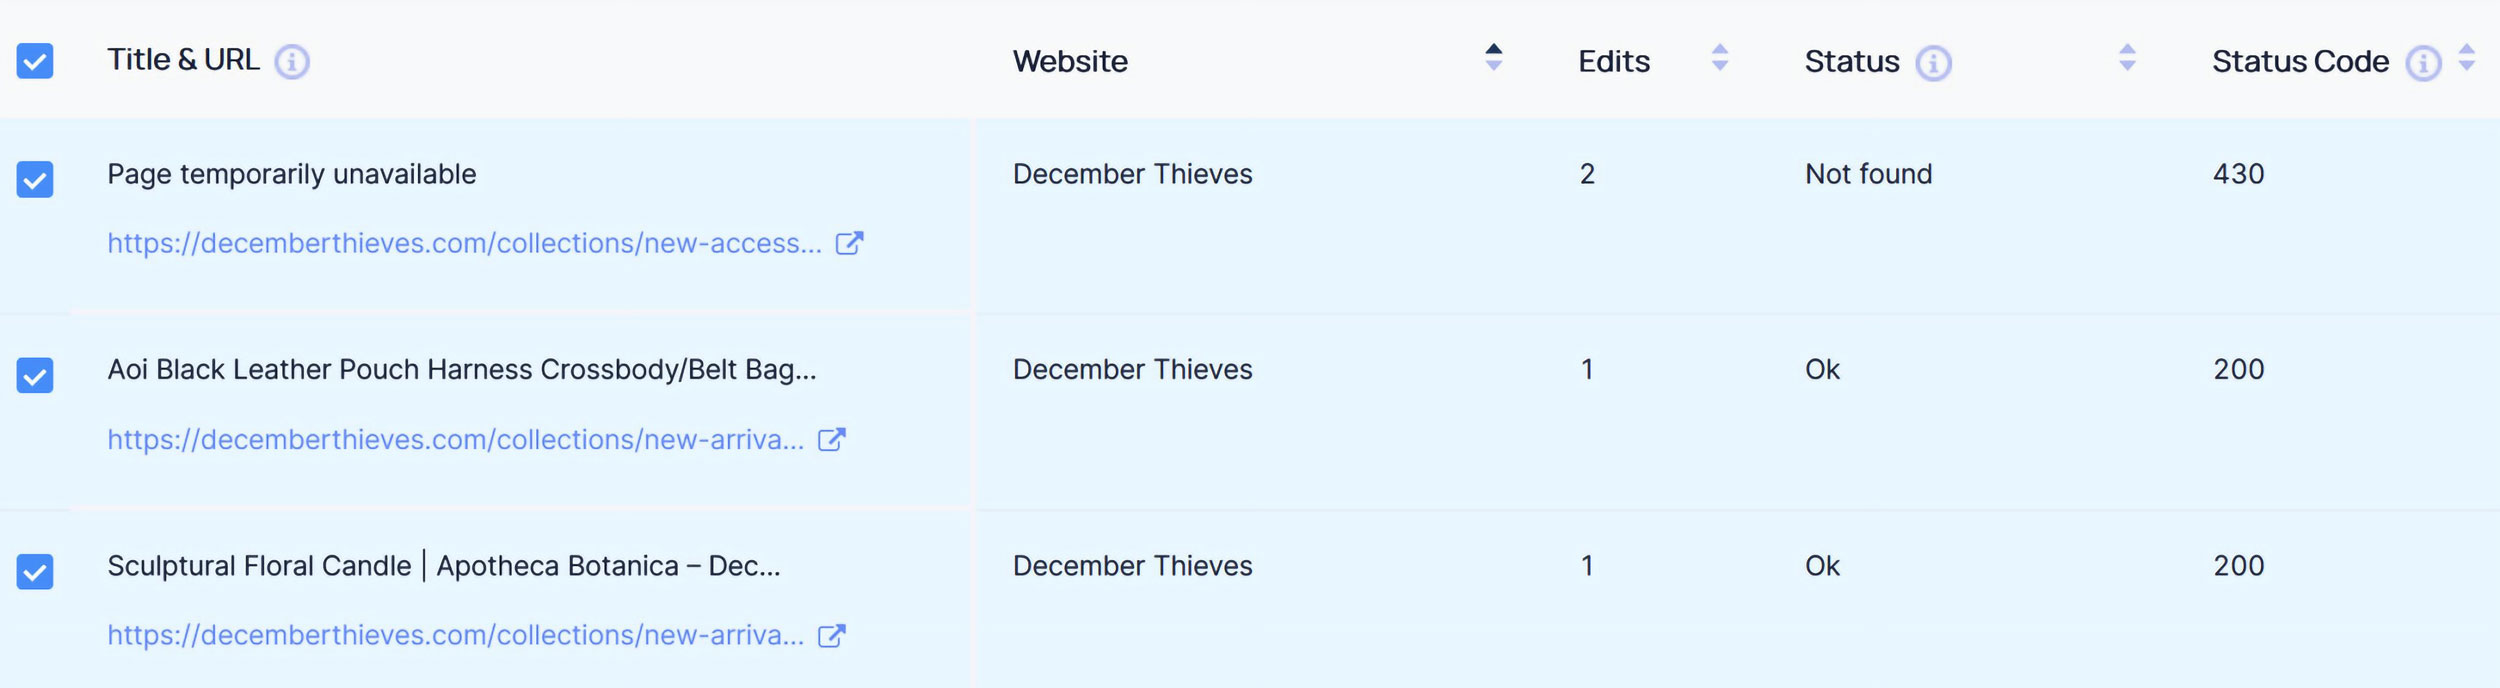
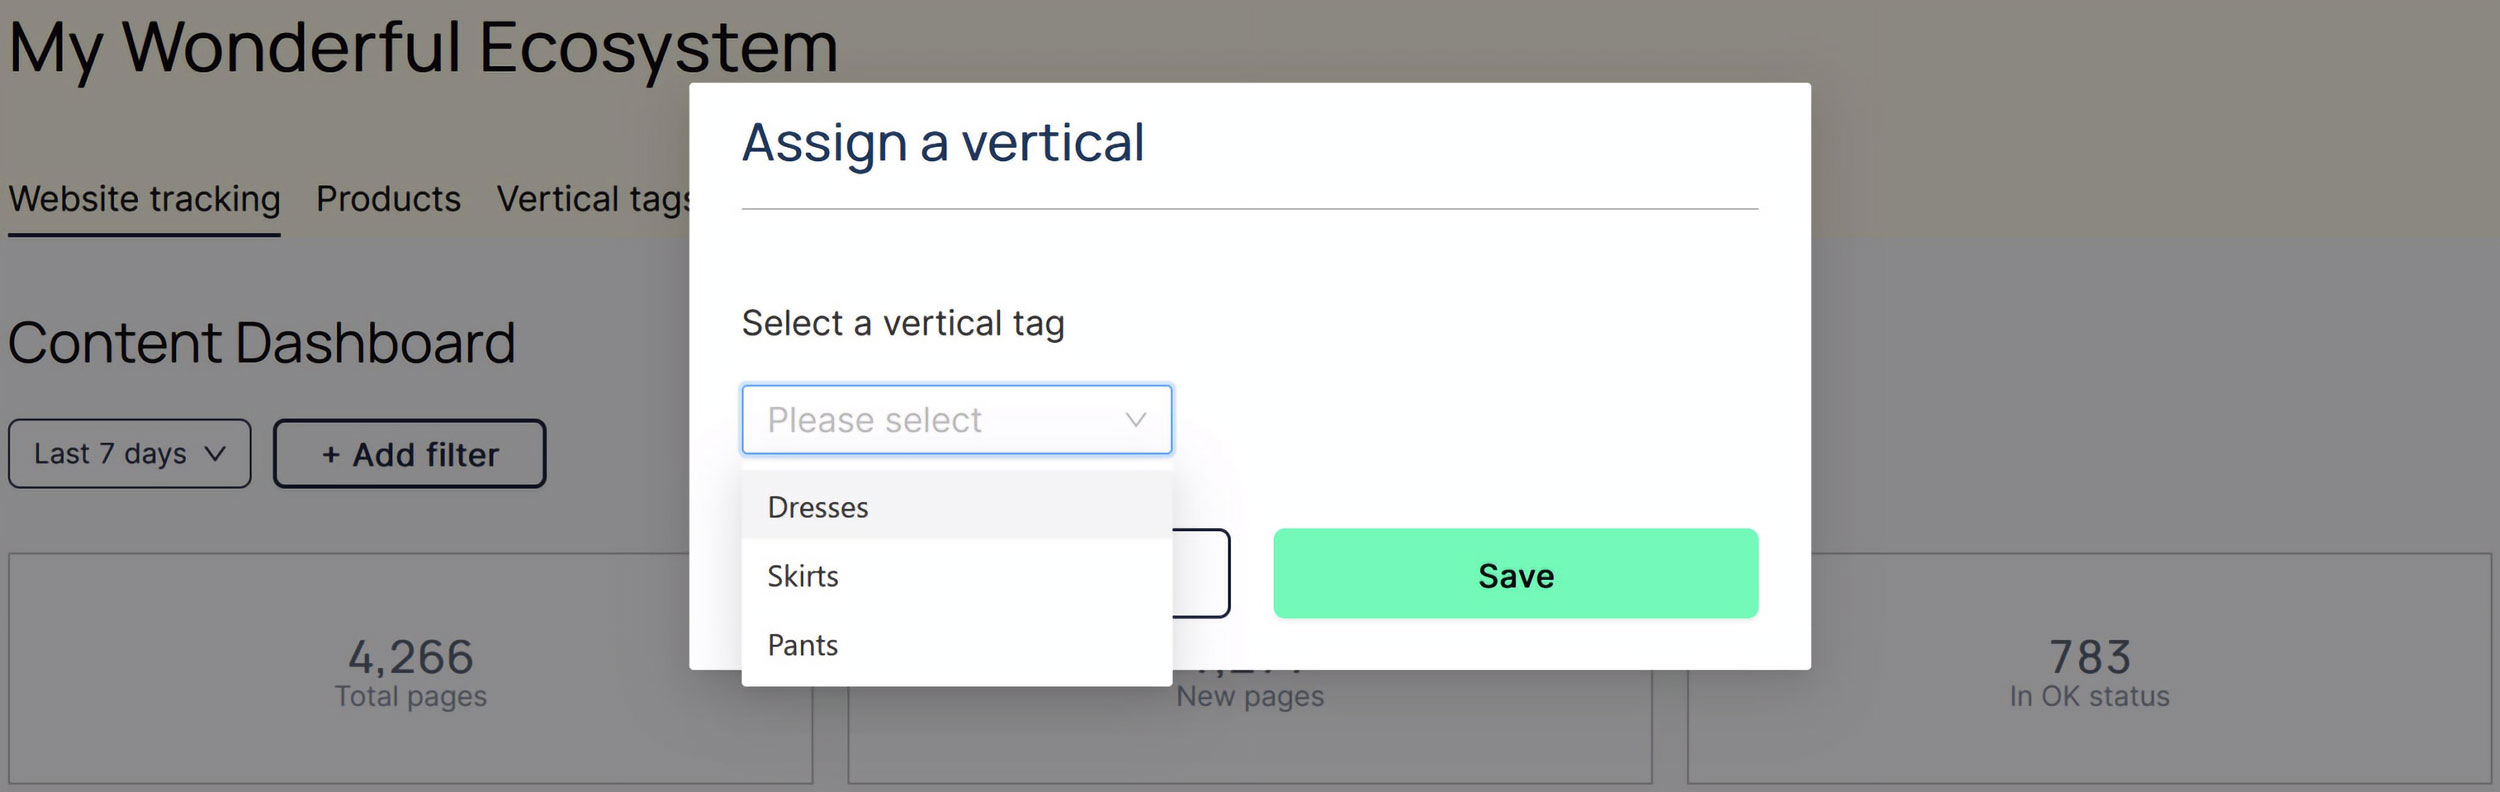
Click the green Assign vertical button (located at the top-right corner of the table) to open a dialog box. Select a vertical tag from the dropdown list and hit the Save button.
Rinse and repeat until you’ve assigned all your tags.
Pro tip: You can assign multiple vertical tags to one page. For example, a product page for a smart TV could be tagged with “Electronics”, “TVs”, and “Smart TVs”. This lets you generate data segments that are as broad or as granular as you need.
Segmenting your data
Once you’ve finished assigning vertical tags, you can apply them to view your data segments. Vertical tags can be applied on both the Products and Website tracking tabs inside your DataNoodle account.
- On the Products tab, you’ll see product-specific pricing and availability changes for the pages in your data segment. For example, if a product’s price has increased or decreased.
- On the Website tracking tab, you’ll see content-specific changes at the HTML level for the pages in your data segment. For example, if content inside a title <title> or navigation <nav> element is added, updated, or removed.
Applying product segments
On the Products tab, click the +Add Filter button in the Product Dashboard. Apply your data segments by selecting one or more vertical tags from the Tags section.
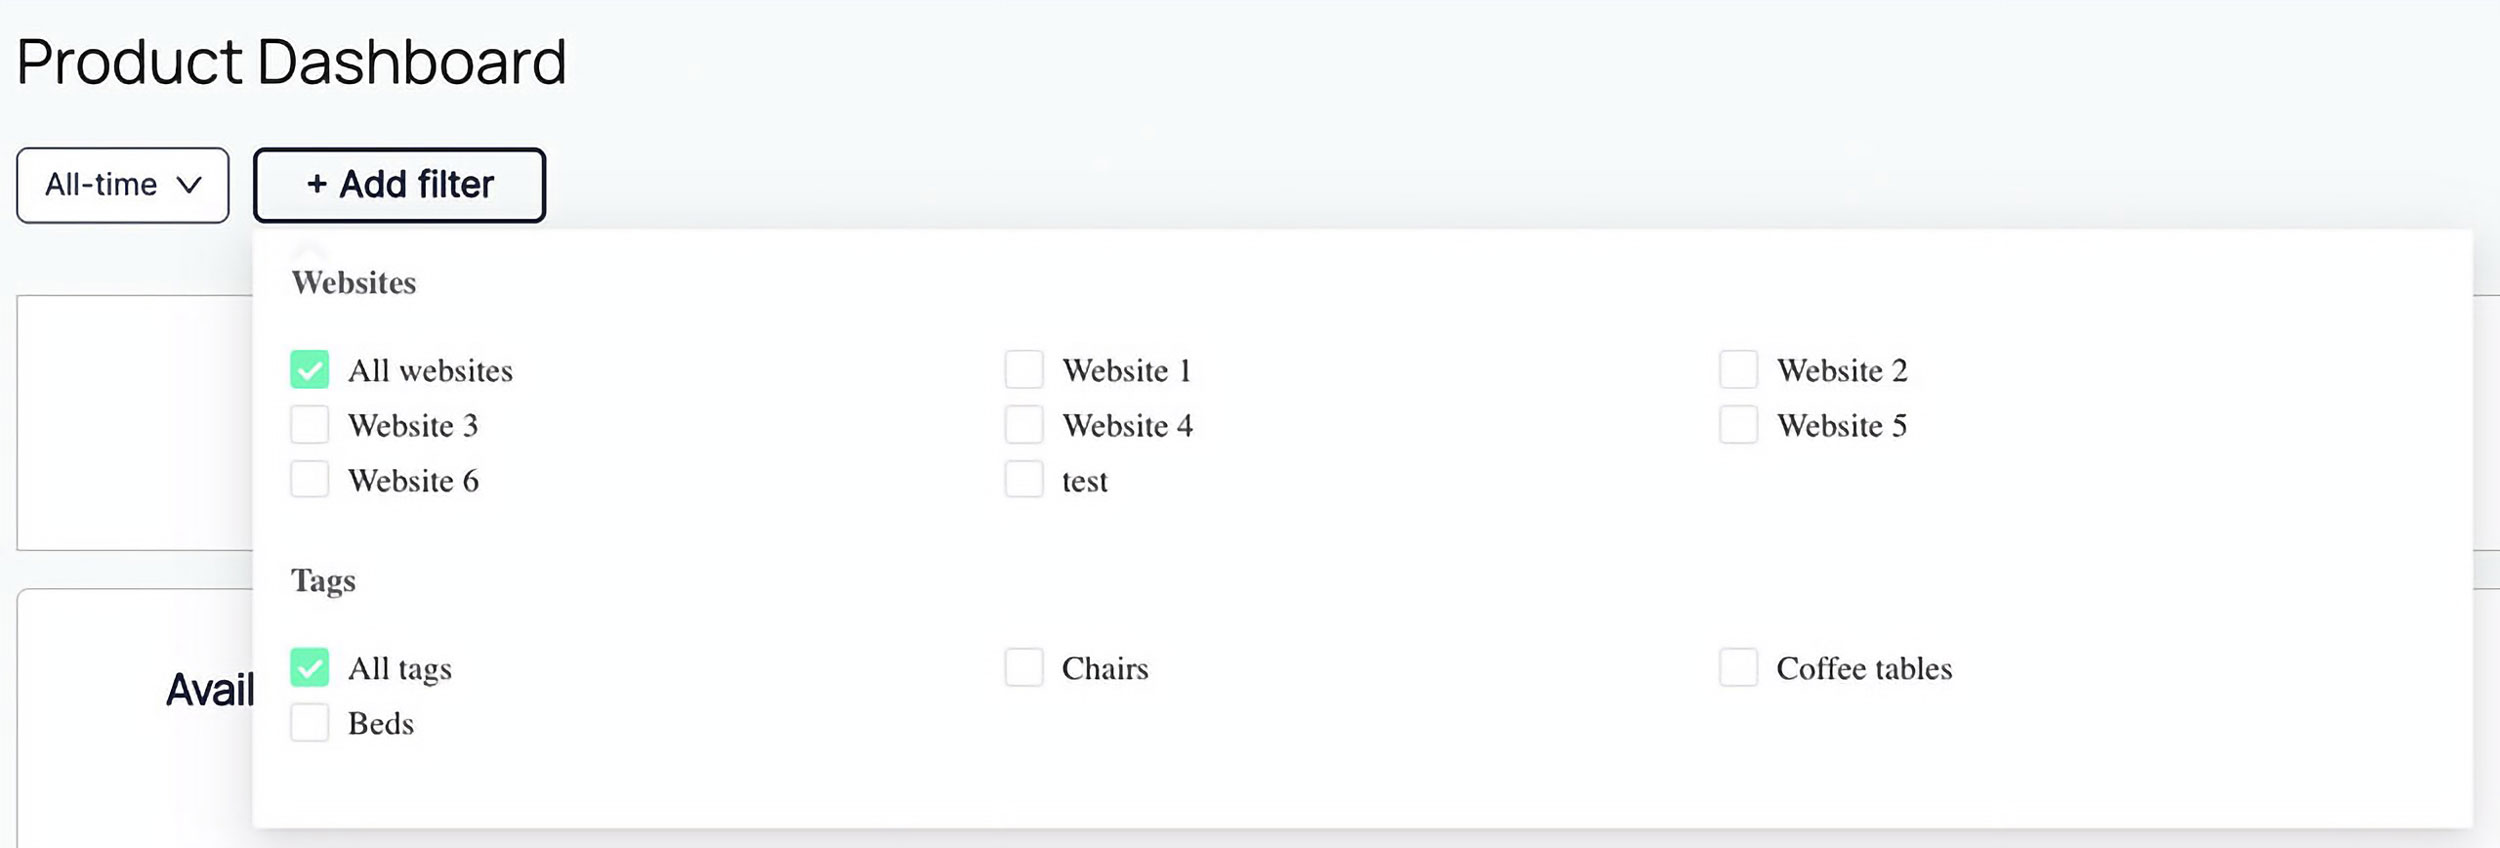
For example, if you’re in the furniture industry, you might want to view only the pages tagged as “Beds”. Applying this tag will filter by all your bed products as well as those of your competitors.
Applying CONTENT segments
On the Website tracking tab, the process for applying a data segment is the same. Simply click the +Add Filter button under the Content Dashboard to select your desired tag or tags.
Making the most of data segments
DataNoodle’s customisable data segmentation gives you ground-breaking ways to approach data analysis.
For instance, if you and your competitors sell mobile phones, some segments you could create include:
- “Phones” to segment by all phone products.
- “6.5 Phones” to segment by phones with 6.5 inch screens.
- “Samsung Phones” to segment by Samsung phones.
- “Galaxy Phones” to segment by Samsung Galaxy model phones.
- “SM-G965F” to segment by the specific phone model Samsung Galaxy S9+.
As well as product pages, you can use vertical tags to group other types of pages into data segments. Some examples:
- “Homepage” to segment by just the homepages of the different websites you’re tracking.
- “About Us” to segment the about or company info pages.
- “Categories” to segment by category/subcategory pages.
- “On Sale” to segment by specific category pages – in this example, the ones where discounted products appear.
- “Blog” to segment by blog posts.
You can segment any type of products and content you want – these are just some ideas to get you thinking!
Put data to work for you, your way.